
Here's what I used:
1 white tshirt (I randomly found long sleeved Tshirts on Clearance for a buck! Score!)
1/2 yard each of six different colors of St. Patrick's Day or green cotton print (prewash!)
(I pilfered my mom's fabric stash!)
2 yards 3/4 in wide green grosgrain ribbon
snaps
green jewel
a bit of felt
thread
sewing machine
pins

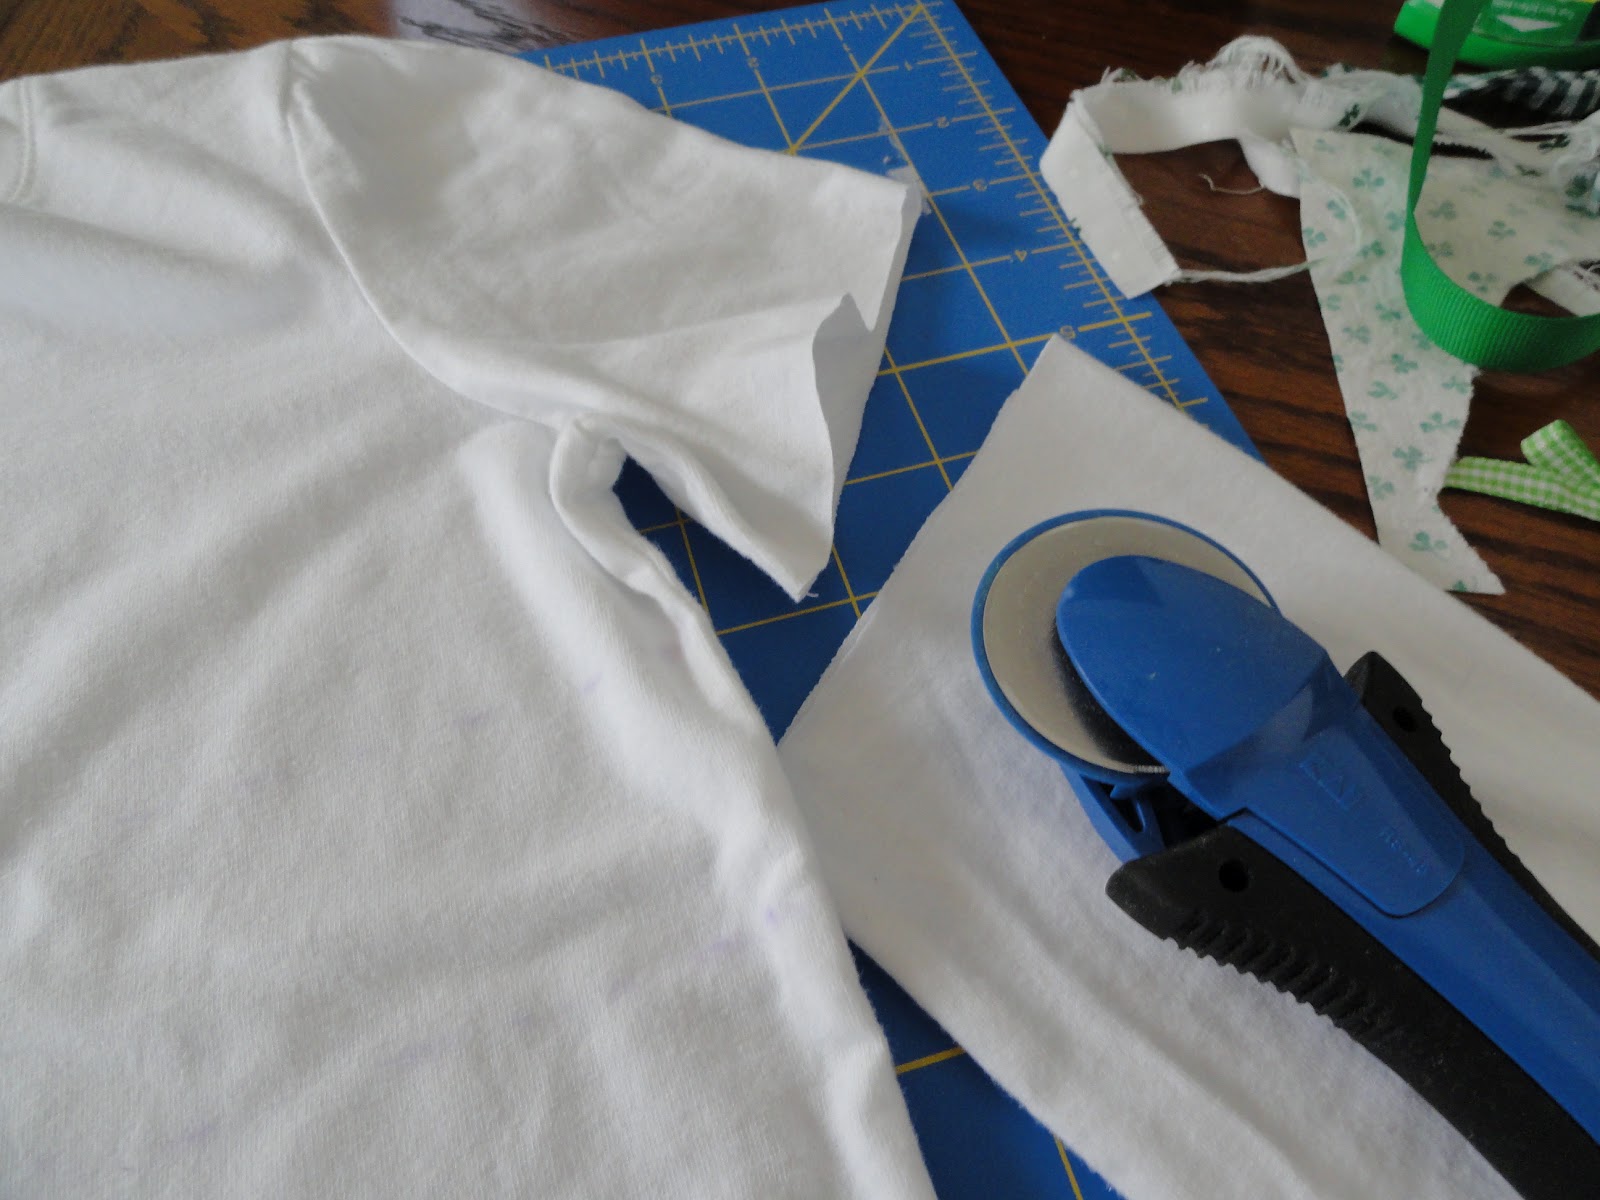


Using a quilting rotary cutter and board (it's easier and quicker, but scissors will work, too. Just be careful to cut straight lines!), cut fabric in 5 inch by 45 inch pieces. The length of each piece should be three times the length of the tshirt measured all the way around. Take each piece separately and stitch wrong sides together at narrow ends to make long loops. Press seam allowance open. Then fold each piece under 1//4 inch and fold again. Press to make hem. Stitch hem in place. Press again.
Now it's time to gather. Adjust stich length to the longest available. Mine is 5. Pin the green stip in even 1/4s. Pin the middle front and middle back of tshirt. Stitch straight across the unhemmed edge of the strip. Pull the bobbin thread to gather. Slide the strip over the tshirt. Starting with your bottom guide mark on the tshirt, start pinning to the tshirt at the side seams and middle using the pins from earlier as guides. Then adjust the gathers to make it fit the tshirt. Using a straight stitch, stitch the ruffle in place. Stitch again using a zigzag stitch to finish the raw edge of the ruffle. Remove ruffle basting stitch. Press.


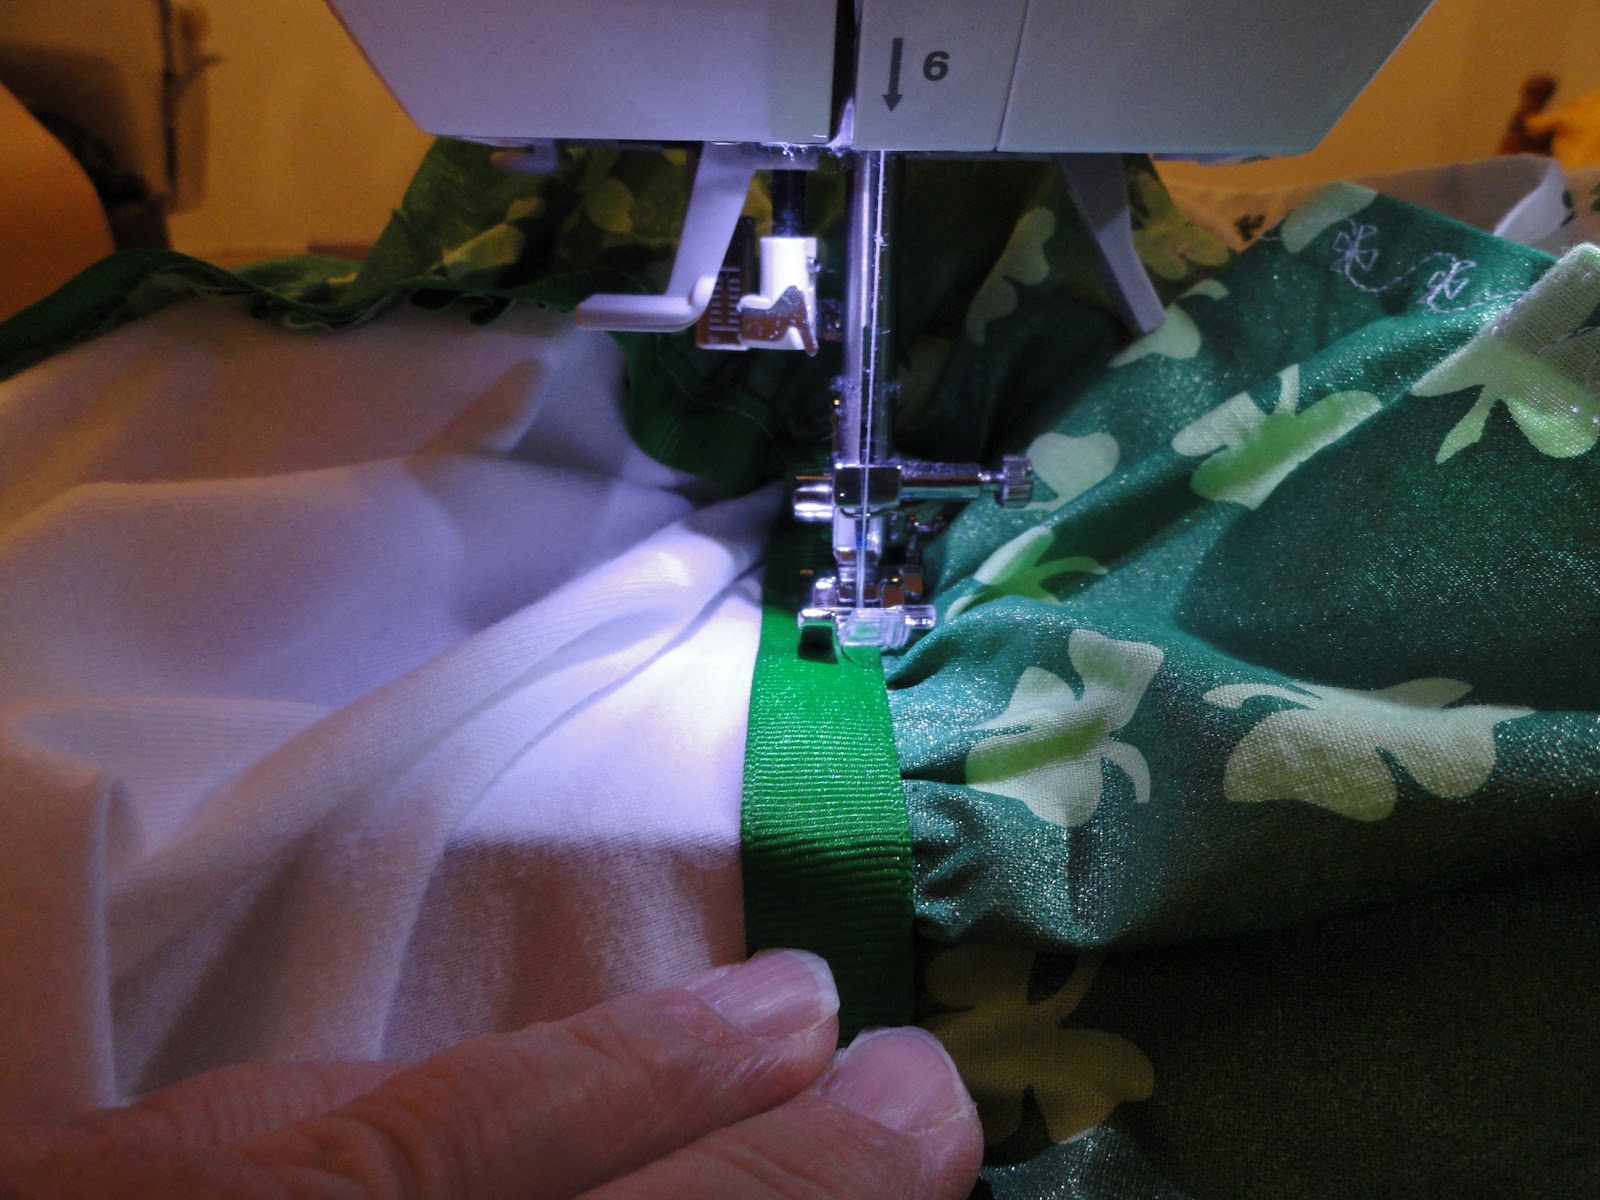
Now measure the ribbon so it will go all around the top layer with about 1/2 inch overlap. Run the edges of the ribbon through a burning candle wick. This should melt and finish the edge, so it won't ravel during the laundry. Pin the ribbon on carefully over the top of the raw edge of to the top ruffle. Pin it A LOT to with not stretching the fabric. Sew slow and be sure to check often that you are sewing on the layers that you want to sew on. You don't want to rip anything else out!!!
Then I made a Gerber Daisy Flower Embellishment for the front attaching it using a snap, so it could be removed before going in the wash. It really needed something on the front! I thought this made it adorable!

I made two little bows out of the ribbon and sewed them to the middle of the sleeve. Make sure you run the raw edges of the ribbon through the fire of a candle to finish the edges.
My daughter LOVES this dress because she can twirl in it! I couldn't find any matching St. Patrick's Day tights. But, I did find some extra cute adult sized knee high socks and made them into tights following this link. It ended up being not quite long enough for a dress alone, so I have her wear shorts under it, too! But she loves that! And I love this....
No comments:
Post a Comment